
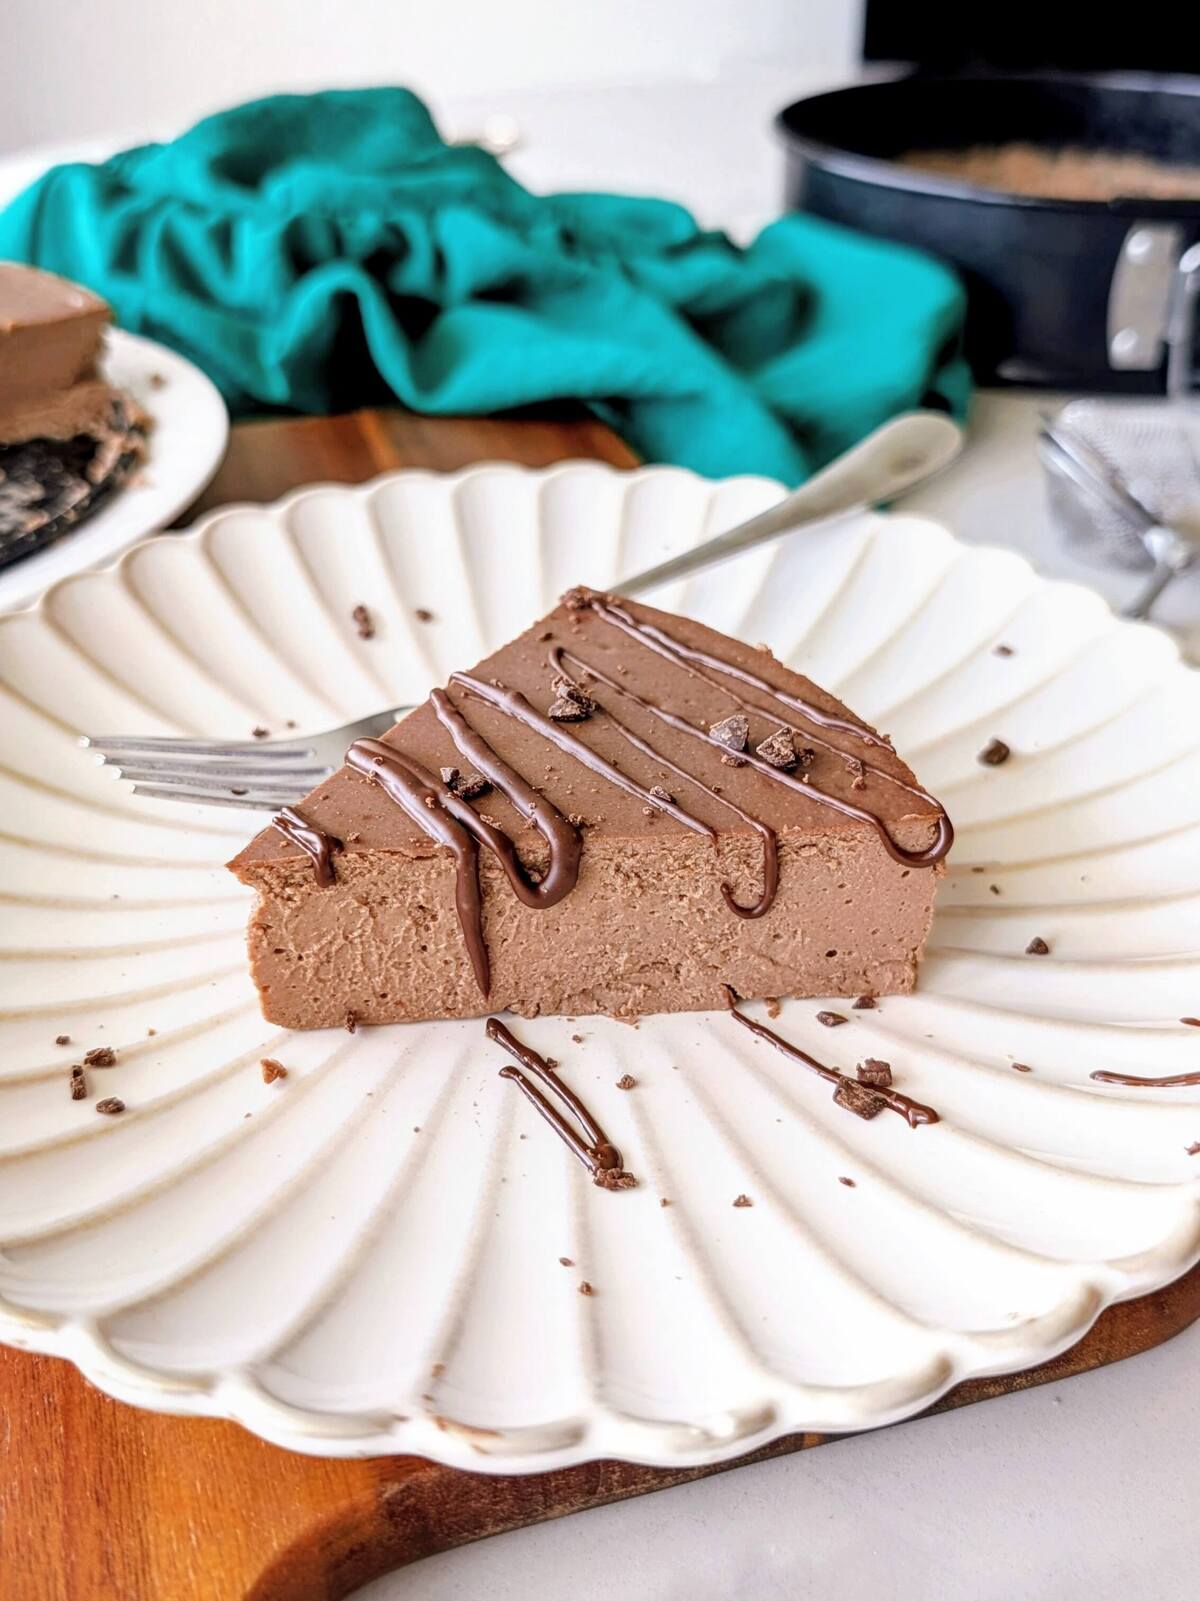
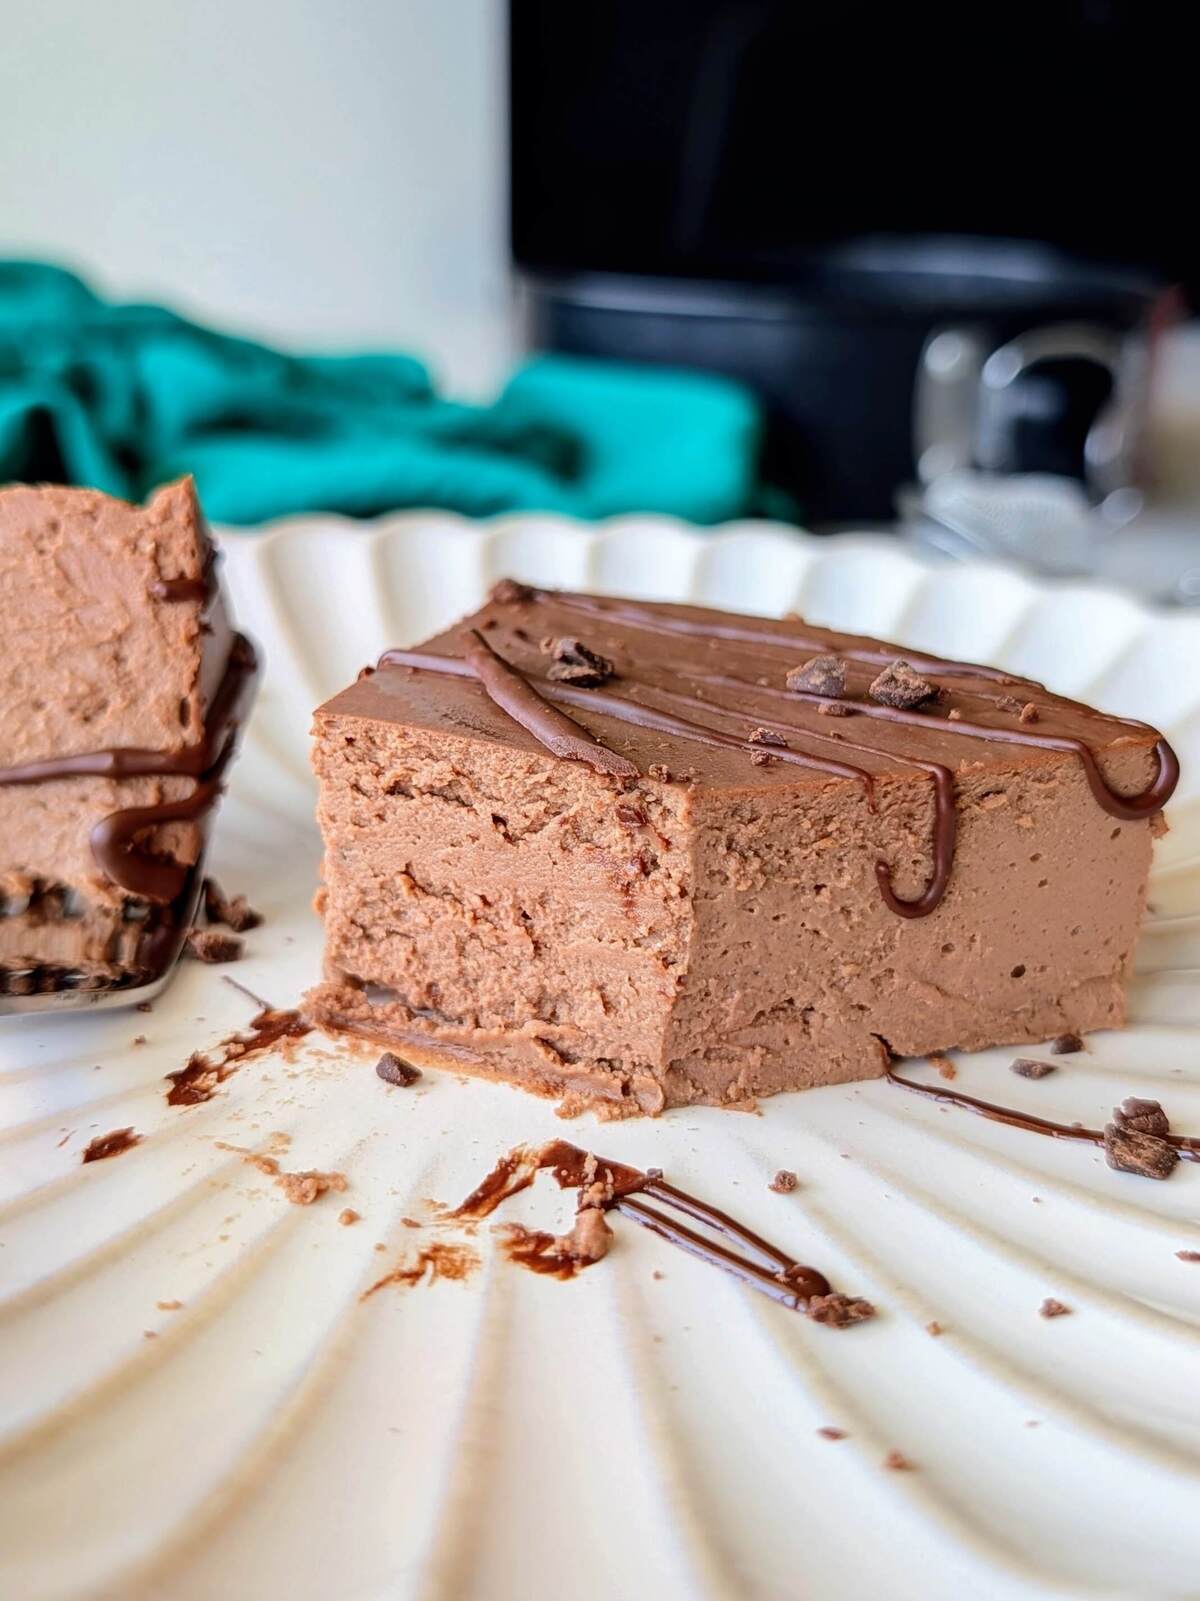
The best high protein chocolate cheesecake recipe! This low fat, low calorie dessert is healthy, creamy, chocolatey, and made easily with Greek yogurt.
The Story Behind This Recipe
Okay I have a confession to make: this chocolate protein cheesecake recipe has been sitting on my to-do list for over a year. I clearly waited way too long to finally make it, because oh my goodness, it turned out absolutely beautiful!
Outside of always having a serious sweet tooth, the reason I made this cheesecake was because I had some leftover low-fat cream cheese to finish up after making my Blueberry Cheesecake Croissant, and I hate letting good ingredients go to waste. I baked it on the weekend and managed to squeeze in some time to film this recipe during my lunch break at work on a random weekday. Let me tell you, doing the taste test of this ultra-creamy, chocolatey beauty was the ultimate end to my lunch break right before jumping into back-to-back meetings, haha.
Because husband and I are currently doing long-distance, I ended up freezing ¾ of it and took it with me on my flight from Vancouver to San Diego. I was genuinely surprised by how well it traveled-it was still perfectly frozen when I got to our SD home eight hours later! This is definitely good to know for next time that a healthy cheesecake travels like a dream. Now, you get to skip the year of waiting and make this macro-friendly treat today to satisfy your cravings!
Why You'll Love This High Protein Chocolate Cheesecake
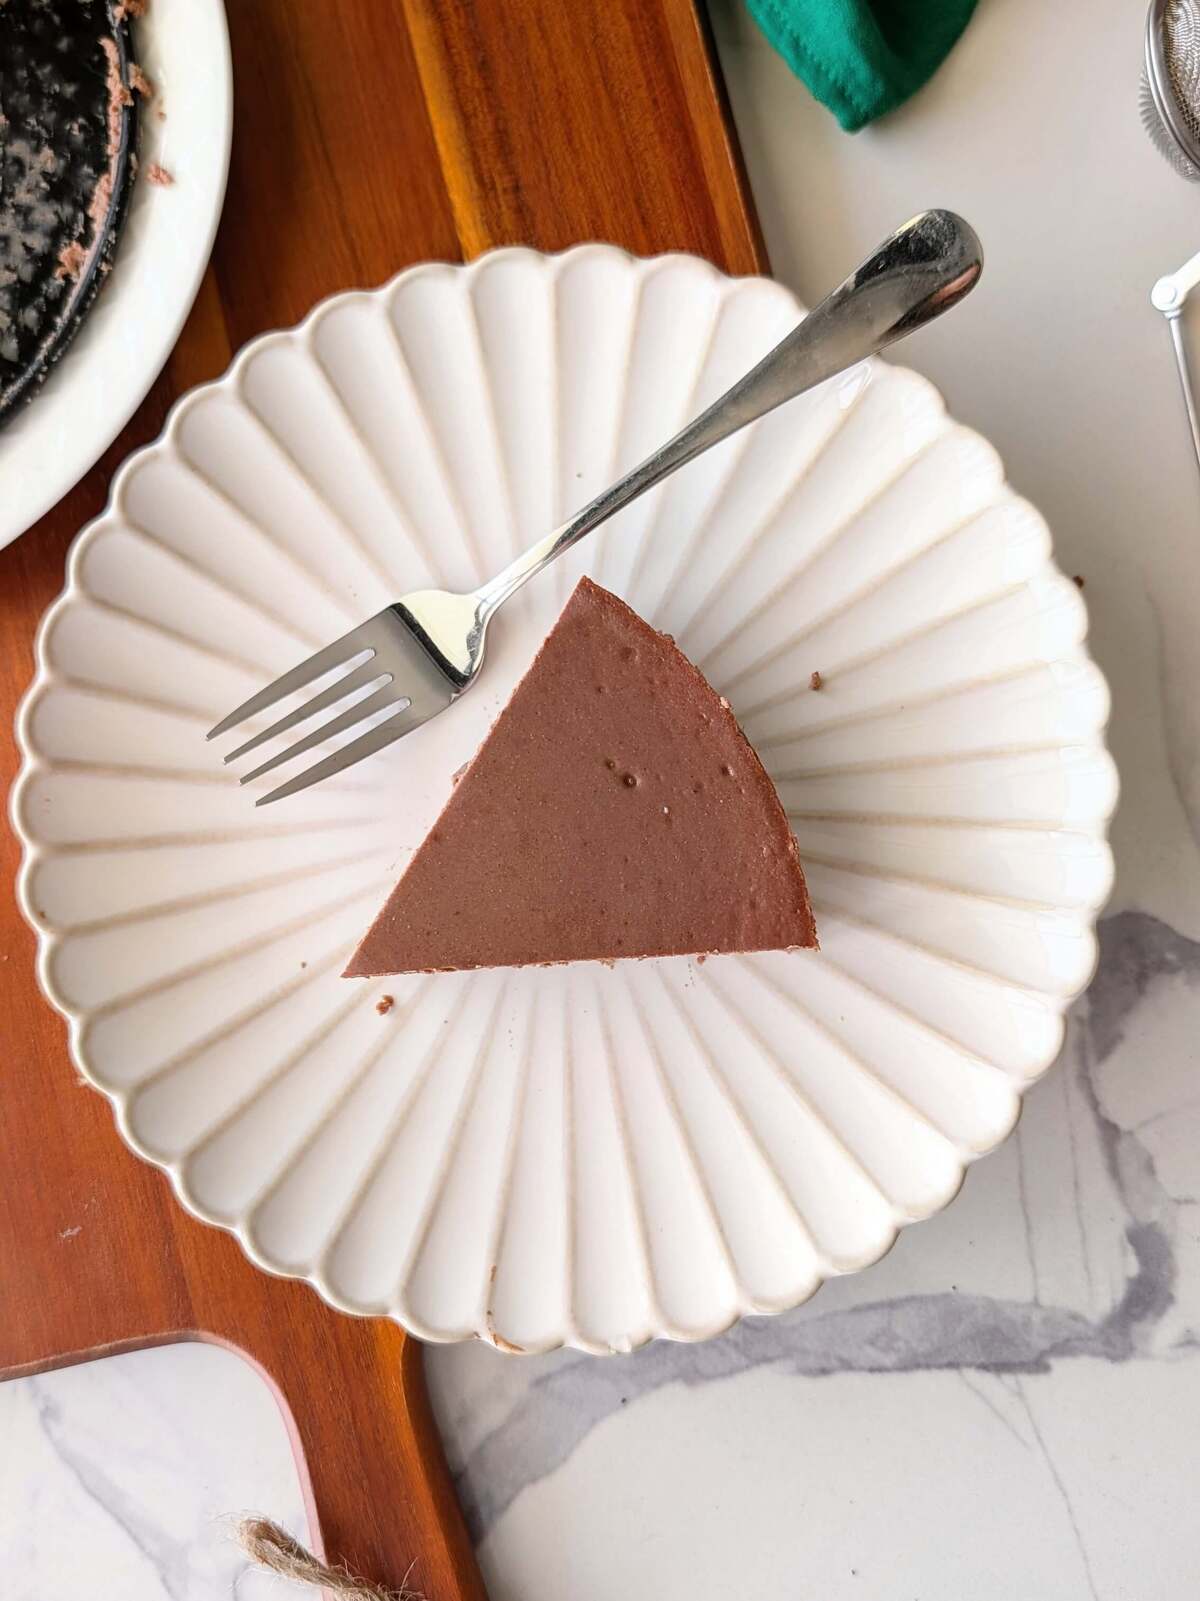
- Rich, Creamy, and Chocolatey: You get that authentic, velvety cheesecake texture and intense chocolate flavor without the heavy sugar crash.
- Incredible Macros: A low fat, low calorie, healthy and protein-packed hack since it uses Greek yogurt, low fat cream cheese and protein powder.
- No-Fuss Crustless Bake: Because it is completely crustless, there is no tedious graham cracker pressing or extra baking steps required. Just mix the batter, pour, and bake!
- No Melted Chocolate: Unlike traditional recipes that need you to melt milk chocolate in the double boiler or microwave, this recipe gets its rich chocolate flavor from cocoa powder. No complicated steps or added calories!
- Travels and Freezes Like a Dream: You can easily freeze leftovers or meal prep this dessert ahead of time-it even holds up for long trips!
Ingredients for the Best Chocolate Cheesecake Recipe
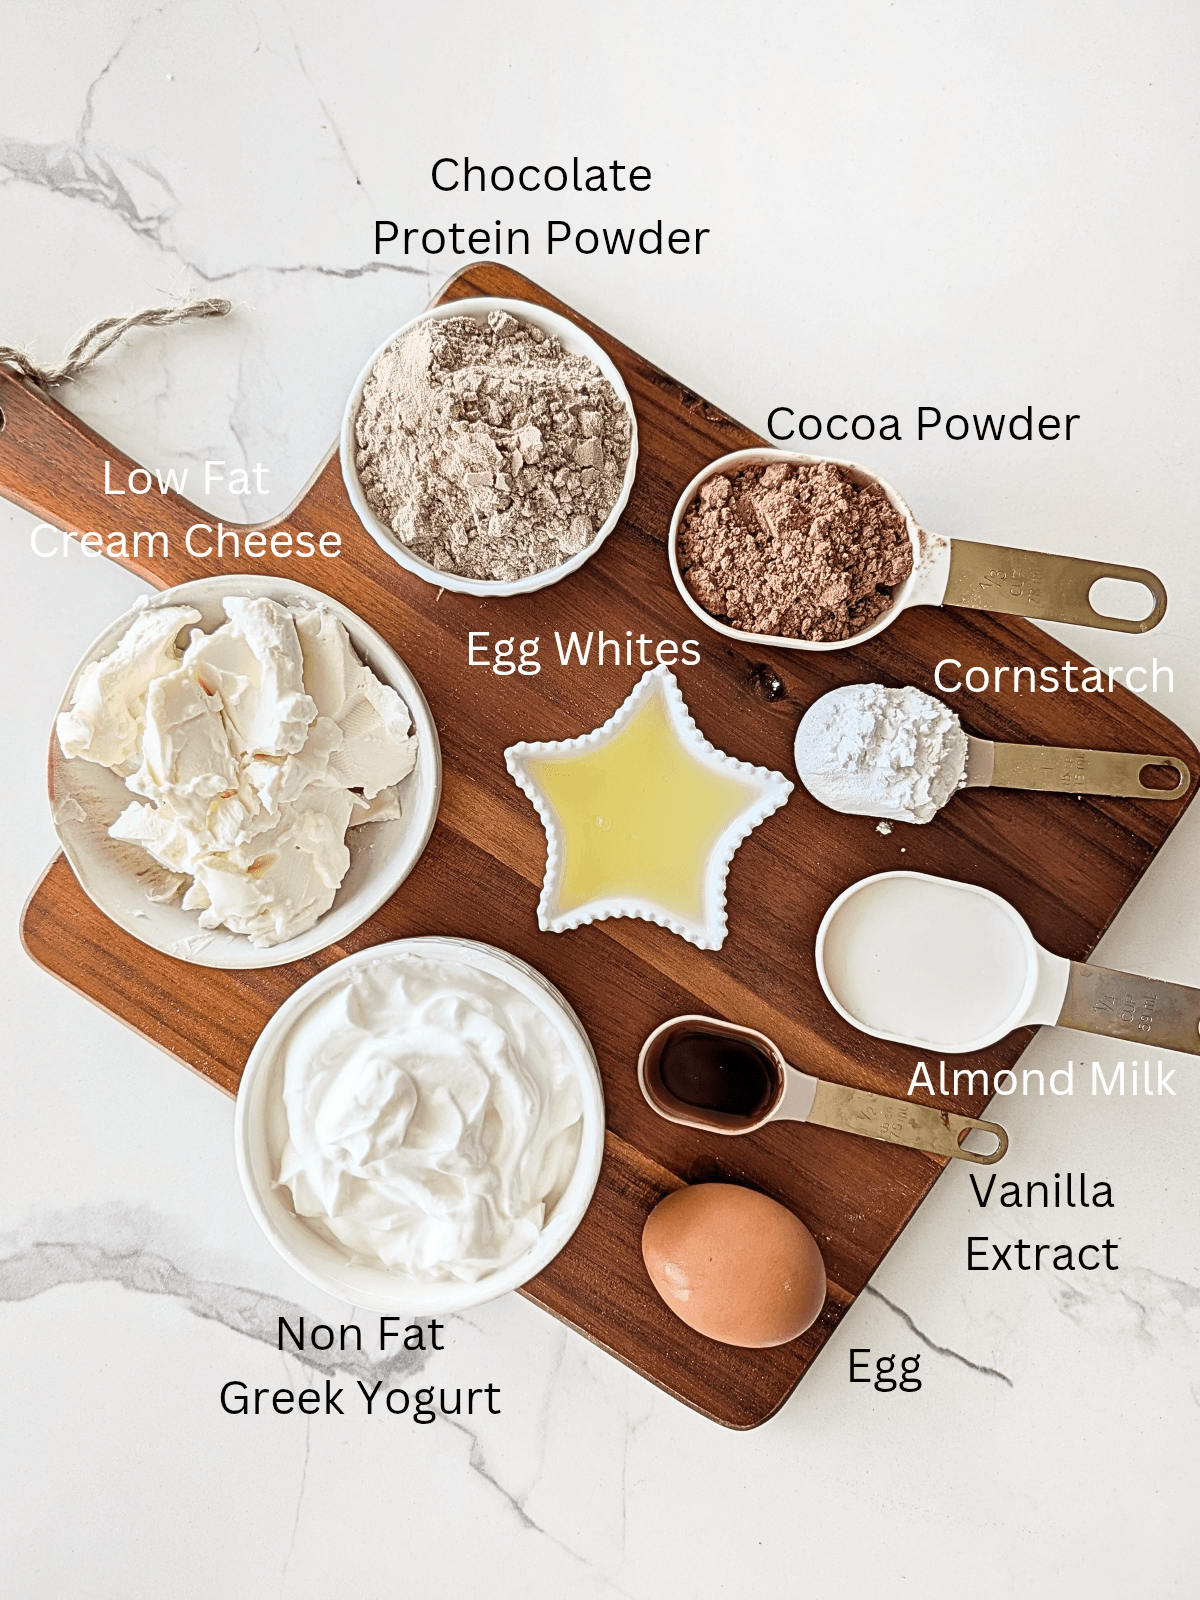
This recipe make the best high protein chocolate cheesecake with simple ingredients! A few pantry staples are what you need to make this a reality -
See recipe card at the bottom of the page for the measurements!
- Eggs (1 Whole + 2 Whites): Binds all the ingredients together and gives the dessert its structure while keeping the overall macros incredibly lean.
For the white, use liquid egg whites or the whites from two large eggs. - Nonfat Plain Greek Yogurt: Adds moisture and that classic cheesecake tang with a massive protein boost, but also keeps the fat super low.
- Sub: Any low-fat or whole-milk Greek yogurt. Use coconut yogurt for a dairy free option.
- Low Fat Cream Cheese: Essential for that rich, creamy texture you expect from a dessert, but with a fraction of the calories.
- Sub: Look for Neufchâtel cheese or blended low-fat cottage cheese. If not, regular cream cheese or cottage cheese also works.
- Unsweetened Almond Milk: Just a splash to thin the batter to the perfect, pourable consistency. You will not need this if you use whey protein instead of whey-casein.
- Sub: Any milk of your choice - non-dairy or regular skim or whole milk.
- Vanilla Extract: This is to enhance and deepen the rich chocolate flavors.
- Chocolate Protein Powder (Whey-Casein Blend): This serves as the sweetener of the cheesecake, as well as thickens it perfectly for baking. I use Quest Nutrition for my recipes!
- Unsweetened Cocoa Powder: Gives this cheesecake recipe its intense, decadent chocolate flavor.
- Cornstarch
- Sub: Arrowroot powder or tapioca flour.
How to Make a Healthy Chocolate Cheesecake
With no crust needed, this really is an easy recipe for a chocolate cheesecake. Here's what you need to do to make it happen:
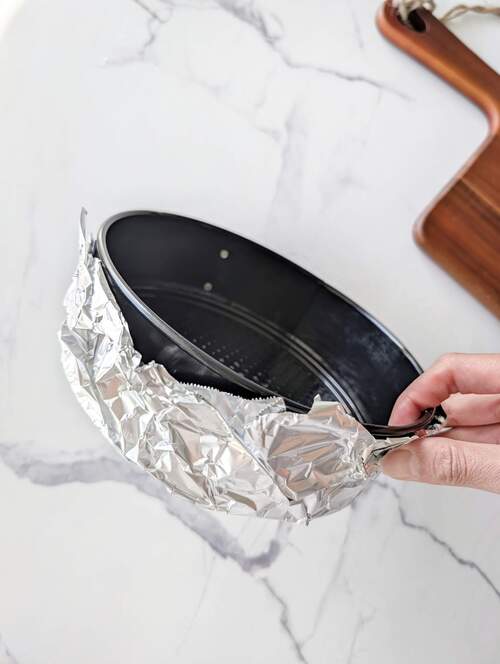
- Prep Your Pan and Water Bath: Preheat your oven to 325°F. Grab a 7-inch springform pan, grease the inside, and line the bottom with parchment paper. Wrap the outside of the pan securely in aluminum foil to protect it from the water. Place a larger, deep baking pan filled with 2 to 3 inches of water directly into the oven while it preheats.
- Whip the Cream Cheese: In a large bowl, use a hand mixer to beat your low-fat cream cheese until it is light, fluffy, and completely free of lumps.
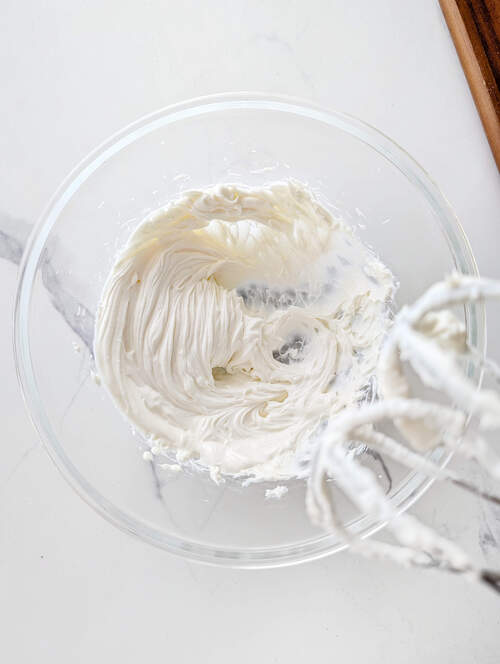
- Mix the Wet and Dry Ingredients: Beat in the Greek yogurt, unsweetened almond milk, and vanilla extract until smooth. Next, add your chocolate cheesecake protein powder, cocoa powder, and cornstarch. Mix on low speed, scraping down the sides of the bowl so everything incorporates perfectly.
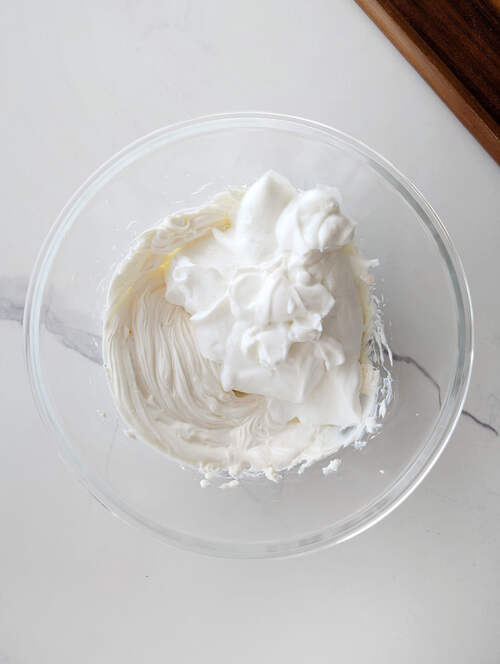
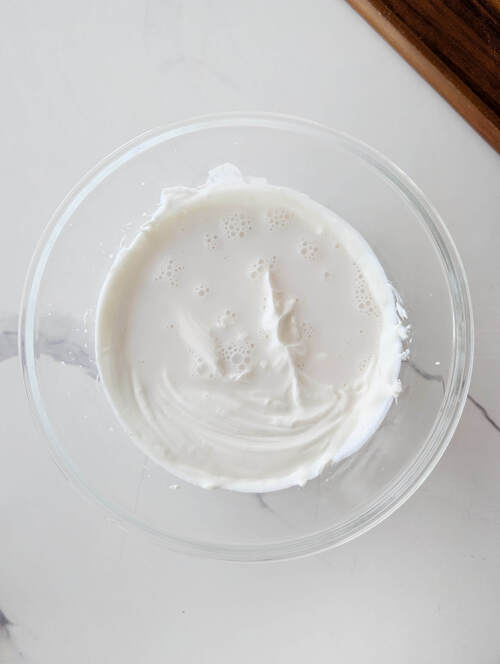
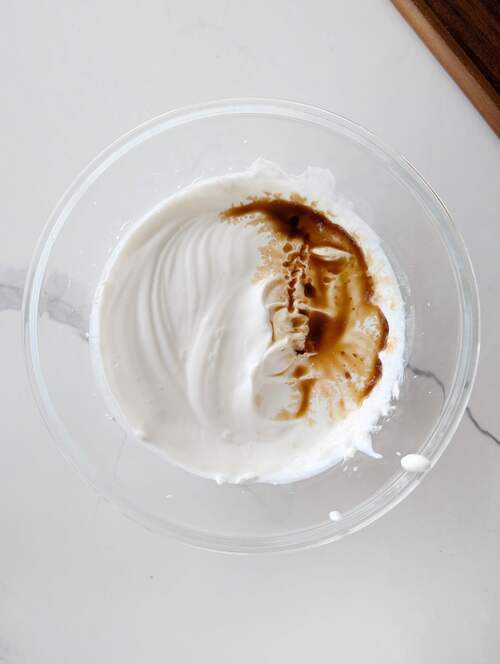
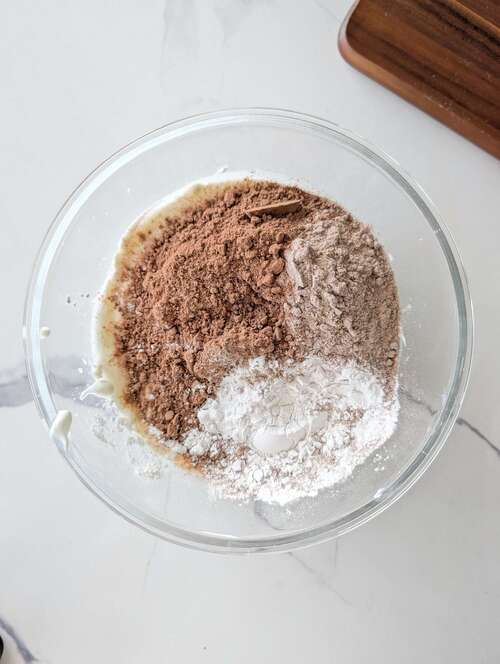
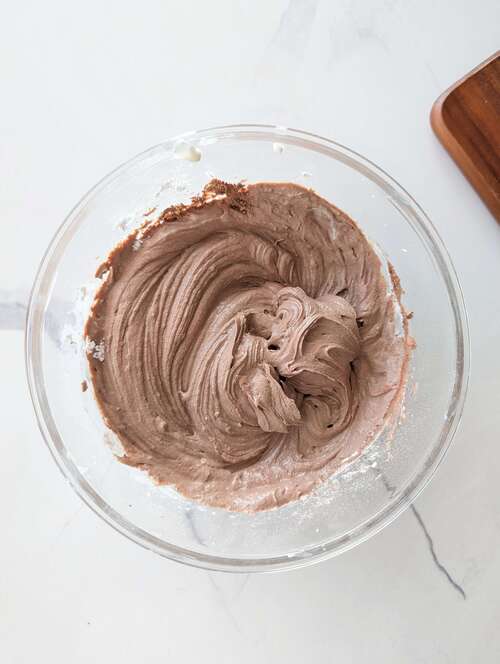
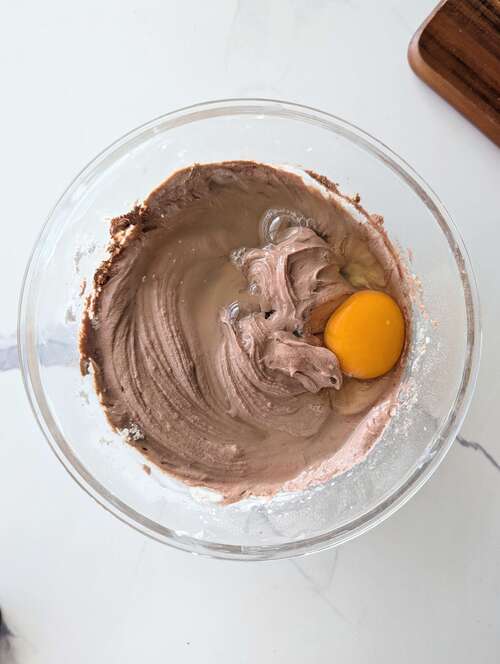
- Gently add the Egg and Egg Whites: Add the whole egg and egg whites to the chocolate batter. Beat on low speed until they are just combined. Make sure not to over-mix here, as whipping too much air into the eggs can cause your low calorie chocolate cheesecake to crack while baking!
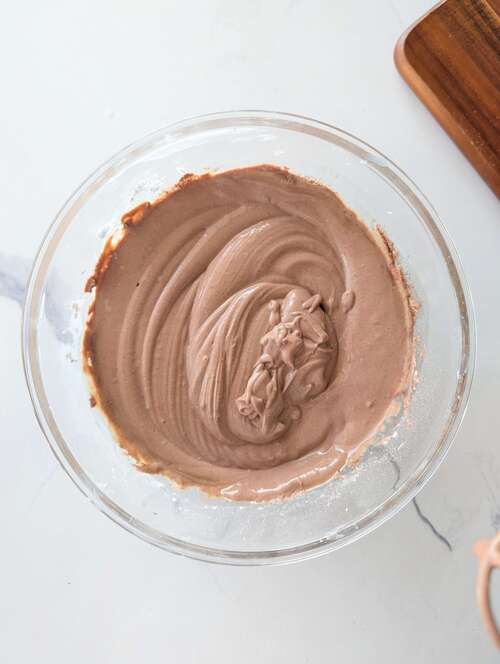
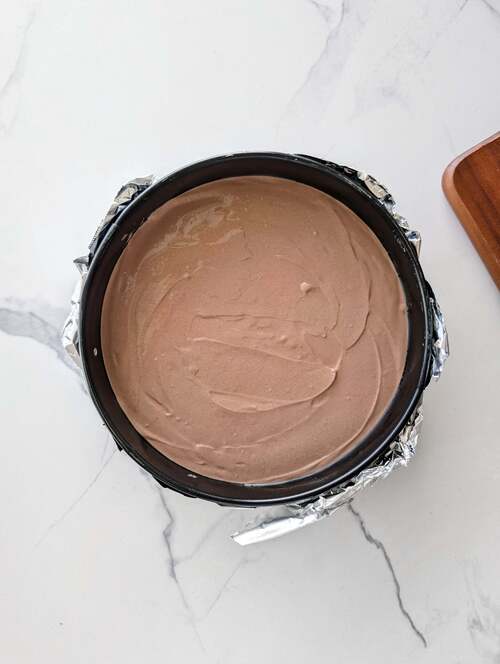
- Bake in the Water Bath: Pour the chocolatey mixture into your prepared pan and smooth out the top. Carefully place the springform pan right into the preheated water bath. Bake for 27 minutes. When it's done, the outer edges will be set, but the center (about 2 inches wide) should still look slightly jiggly.
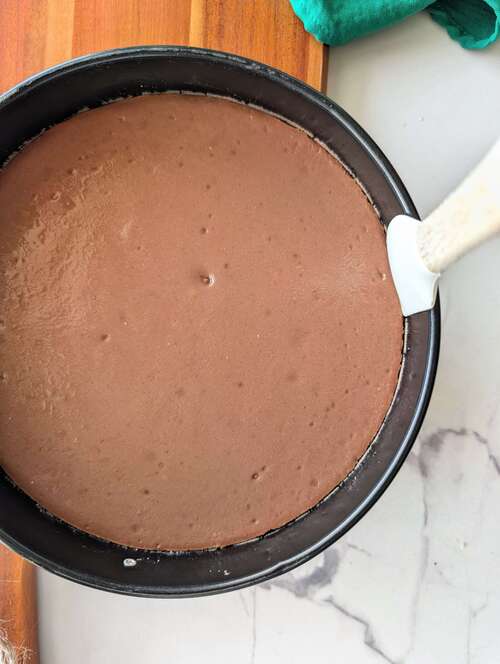
- The Cool Down: Turn off your oven and prop the door open about 4 to 5 inches. Let the cheesecake sit inside the warm oven for 1 to 2 hours to cool down slowly. This slow transition is the ultimate secret to a flawless healthy baked chocolate cheesecake.
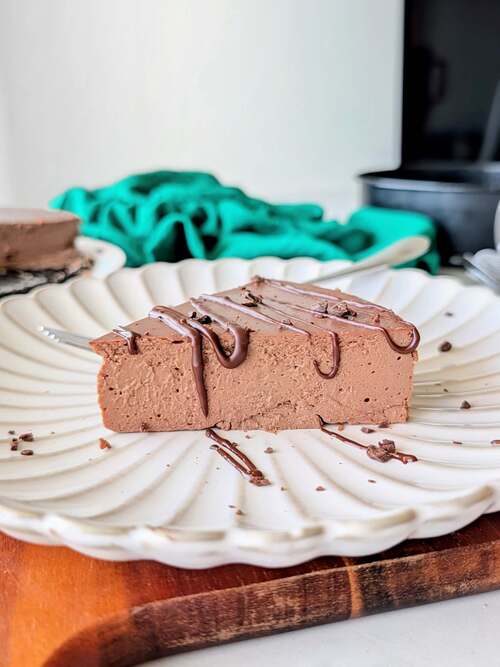
- Chill and Set: Remove the pan from the oven and let the healthy baked chocolate cheesecake finish cooling on your counter. Cover it with plastic wrap and pop it into the fridge for 2 to 4 hours to fully set. Slice it up and enjoy your rich, low fat chocolate cheesecake!
Pro-Tips for This Low Calorie Chocolate Cheesecake
- Avoid Over-Baking: It is totally normal if the center still looks a bit wobbly when the timer goes off! The residual heat during the slow cooling process will finish setting the cake.
- The Parchment Paper Rule: Don't forget to line the absolute bottom of your pan with a parchment paper round! Because this is a crustless recipe, the baked batter will stick directly to the bottom of the pan if it is unlined, making it a nightmare to remove cleanly.
- Use Room Temperature Ingredients: Make sure your cream cheese, yogurt, and eggs sit on the counter for a bit before mixing. Cold ingredients create tiny lumps, and you want this batter to be perfectly smooth.
- The Whey-Casein Difference: For the ultimate thick and creamy consistency, a protein powder blend works best. If you substitute a pure whey powder, remember to omit the almond milk completely so the mixture doesn't turn out too runny.
- Don't Skip the Foil Shield: Wrapping the outside of your pan tightly in heavy-duty aluminum foil is crucial. It keeps the water from leaking into your cake, ensuring the edges stay perfectly intact.
Equipment
10/10 recommend using good hand mixer for the cream cheese frosting. I love this cordless one from KitchenAid, but you can use the regular one too.
Storage and Freezing Tips for This Low Fat Chocolate Cheesecake
Because this high-protein low fat chocolate cheesecake contains fresh dairy, proper storage is key to keeping it fresh and delicious:
- In the Refrigerator: Keep your chilled slices in an airtight container in the fridge for up to 5 days. It actually tastes even richer and more deeply chocolatey on days two and three!
- In the Freezer: This fitness-friendly chocolate cheesecake freezes beautifully. Wrap individual slices tightly in plastic wrap, then place them in a freezer-safe bag for up to 3 months.
- How to Thaw: When you are ready to enjoy your crustless protein chocolate cheesecake, simply transfer a slice to the fridge the night before, or let it sit on the counter at room temperature for about 30 to 45 minutes before diving in.
Some more high protein cheesecake recipes to try:
- No Bake Mini Protein Cheesecake Bites
- Healthy Ricotta Cheesecake
- Cottage Cheese Protein Cheesecake
- Single Serving Protein Cheesecake
Did you try this recipe? I'd actually LOVE to know!
Tag @hayls.kitchen on Instagram & leave a ⭐️⭐️⭐️⭐️⭐️ review below?
High Protein Chocolate Cheesecake (Easy & Healthy)
Ingredients
- 1¼ cup Nonfat Plain Freek Yogurt, 281g
- ⅔ cup Low Fat Cream Cheese, 150g
- 3 tablespoon Unsweetened Almond Milk, 45ml
- 1 tablespoon Vanilla Extract
- ½ cup Whey-Casein Chocolate Protein Powder, 45g
- ¼ cup Cocoa Powder, 20g
- 1 tablespoon Cornstarch, 15g
- 1 Egg
- 2 Egg Whites, 66ml
Are you Making This?
Please leave a ⭐⭐⭐⭐⭐ comment below letting me know what you think! This supports my page so I can continue to give you free recipes. Even 1 sentence is enough 🙂
Instructions
- Preheat and Prep: Preheat your oven to 325°F (163°C). Lightly grease the inside of a 7-inch springform pan (or regular cake pan) with oil and line the bottom with a parchment paper round.
- The Foil Shield: Wrap a large sheet of aluminum foil securely around the outside bottom and sides of the pan (like placing the pan in a foil bowl) to protect it from the water bath.
- Prep the Water Bath: Fill a large, deep baking pan with 2 to 3 inches of water and place it on the center rack of your oven to heat up while preheating.
- Whip the Base: In a large bowl, beat the low-fat cream cheese with a hand mixer until it is completely smooth, light, and fluffy.
- Add the Liquids: Add the nonfat plain Greek yogurt, unsweetened almond milk, and vanilla extract. Beat until the mixture is fully combined.(Note: Skip the almond milk if you are substituting pure whey protein powder instead of a whey-casein blend).
- Mix the Dry Ingredients: Add the chocolate protein powder, cocoa powder, and cornstarch. Beat on low speed until just incorporated, scraping down the sides of the bowl with a spatula as needed.
- Gently Add the Eggs: Add the whole egg and egg whites. Beat on low until just combined-be careful not to over-mix here, as adding too much air will cause the cheesecake to crack!
- Bake in the Water Bath: Pour the velvety batter into your prepared pan and smooth the top. Carefully place your cheesecake pan directly into the hot water bath in the oven. Bake for 27 minutes. The center (about 2 inches wide) should still look slightly jiggly or feel soft to the touch.
- The Slow Cool Down: Turn off the oven, prop open the oven door about 4 to 5 inches, and leave the cheesecake inside for 1 to 2 hours to cool.This gentle cool-down prevents it from sinking or cracking.
- Chill and Set: Remove the baked cheesecake from the oven and let it cool completely on the counter. Cover the pan with plastic wrap and place it in the refrigerator for 2 to 4 hours to fully chill and set before slicing. Enjoy!
Video
Notes
- Nutrition value is calculated using reduced fat cream cheese and products recommended below.
- See post for alternate ingredients, tips and storage options.
- Quest Nutrition Chocolate Whey-Casein Protein Powder
- Yield: 8 slices | Serving size: 1
- Calories: 116 cal
- Fat: 5.2g | Saturated fat: 3g
- Carbohydrates: 5g | Fiber: 1.2g | Sugar: 2.1g
- Protein: 11.5g

Jevay Aggarwal says
This recipe has become my go-to for when I'm craving cheesecake but don't want to buy one and regret the sugars 🙂
Haylee Jane Monteiro says
Ikr! Store bought desserts are good, but these come with no guilt and extra benefits 🙂